Thursday, December 12, 2013

Calculating Your Desired Body Fat Percentage

For many of us we are not at our ideal body weight and we would like to change that. But how? And what weight should you aim for to be in the body weight category that you prefer to be in?


Here is a picture description of what each body fat percentage looks like


>>First off find out what your Body Mass Index (BMI) is:

How to calculate: Body weight in lbs/ (height in cm) Squared = result. 
                             Result x 703= Final BMI

Example: 140 lbs/ 65(2)= .033136
                 .033136 x 703 = 23.29%


>>Secondly, find your body fat percentile and see where it falls on this chart:


BMI (kg/m2) = weight in kilograms/height in meter2
BMI Formula


When you find your current body fat then figure out what percent body fat would be ideal for you. 

>>Lastly complete the formula

Complete this formula for the desired body fat percentage: 
Desired Body Weight (DBW)
Desired Body Fat (DBF)
Lean Body Weight (LBW)

DBW = LBW / (1-DBF)

Step 1: 100% - Fat% = Lean Body%
Step 2: Body Weight x Lean Body % = LBW
Step 3: 100% - Desired Fat% = Desired Lean%
Step 4: LBW / Desired Lean% = DBW

For example if you were 215 lbs and your current body fat % is 25%, but your desired body fat is 20% it should look like this:

Step 1: 100% - 25% = 75%
Step 2: 215 x 75% = 161.25 LBW
Step 3: 100% - 20% = 80%
Step 4: 161.25 lb / 80% = 201.5 lb

Tuesday, November 19, 2013

Better alternative to the 'Stretchcordz kicking trainer'


The stetchcordz kicking trainer is a stretchcord that attaches to your shoulders and connects to your feet in order to add resistance to your kicking while swimming.

The product description says that it adds resistance to legs during kick sets. Assists ankle recovery from breaststroke kick and adds resistance to abdominal muscles during dolphin kick.

The coaches and I were wanting something that we could get for our swimmers with a more advanced kick to use in order improve their kicks. The stretchcordz kicking trainer seemed like a good idea except the fact that it was $123!!! I was shopping around at my favorite store Ross and I came across this product called "Glute Master" from Golds Gym. 

The products' description is: The Gold's Gym Glute Master is the perfect tool to firm up your lower body, especially your glutes! This Workout Kit features an adjustable belt and resistant cord length, as well as a hook and loop closure for easy usability. Complete your lower body workout with the Gold's Gym Kit to get an intense and effective fitness routine to help tone, shape and firm the legs, hips and glutes. The description of the product reminded me of the stretchcordz so I decided to buy it and hope that it worked.


Gold's Gym Glute Master:
  • Complete lower body workout
  • Helps tone, shape and firm up the legs, hips and glutes
  • Adjustable belt and resistant cord length
  • Hook and loop closure


The glute master was only $7.99 too!!

So I brought the glute master to the pool to put it to the test. We strapped it on and it was a great success. All of the swimmers said that it created a resistance to their kick and made it more challenging. During the butterfly they said that it helped finish the snap. During the breaststroke it increased the resistance on the out sweep of the kick. I always like looking to alternatives that I am able to get the same result, or a better result. I am really looking forward to seeing how the consistent use of the glute master improves their times and kick in the future. 


Boot Camp 8- Jump rope calf burner


Today is the day after the workout and my calves are so sore and tight. I normally don't do many jump rope workouts, so this was a nice way to change it up.  Did you know that jumping rope for 5 minutes straight is actually equivalent to running a mile? Anything that can give me the same benefit without actually running I am all over!


What you will need:
Jump Rope
Exercise Ball
Dyno Ball or medicine ball


The Workout:

1) JUMP ROPE SERIES:
       30 seconds each

  • Double foot 
  • Single foot
  • Single high knee
  • Boxer shuffle (both feet jump side to side)
2) STATION WORK
        2x at each station for 45 seconds with a 15 second break in between
  • Squat throw burpee- Take the dyno ball do a squat throw into the air as high as you can. Let the ball drop and then do a burpee on the ball.
  • Ab ball straight leg sit up- Lay your legs straight on the exercise ball and do a sit up while your legs are straight on the ball.
  • Plyo pushups- Do a regular pushup but when you are going up you explode your hands off of the ground.
3) JUMP ROPE SERIES
    same series as #1 except its 40 seconds long

4) STATION WORK
     2x at each station for 45 seconds with a 15 second break in between
  • Overhead plyo split squats- Have the dyno ball over your head. While doing that do jumping split squats.

  • Ab ball exchange- (see video)

  • Moving pushup- Regular push up and move laterally across the room while doing pushups.


I hope you guys enjoy. Let me know what you think!!!

    Sunday, November 3, 2013

    Delicious black bean brownies

               I clearly am really into trying new ingredients to make traditional food healthier, so black bean brownies didn't really scare me very much. But I am sure that this idea probably intimidates most. But trust me, they are really good. 

               Starting off, I banned my husband from the kitchen. I didn't want him to know that I was making the brownies out of black beans. He already knew I was making brownies so that was no surprise. After I made the brownies we sat down for our little dessert, and I waited for his response. He loved it. He was   impressed that I made such a great brownie from scratch. And then I dropped the bean bomb. You should of seen his face! It was priceless. He then decided that he should have three..because they were now good for him.


    What you need:


    makes 9 brownies. 
    1 cupcake pan
    1/2 cup semi-sweet chocolate chips + more for the top
    1 cup canned black beans, rinsed and drained
    1 large egg
    1/2 teaspoon vanilla
    1/4 cup of sugar/splenda
    Pinch salt
    1/2 teaspoon baking powder
    1/4 cup Vegenaise 
    1/4 cup unsweetened cocoa powder

    (optional) 1/4 cup of walnuts
    Step 1
    Preheat the oven to 350F. Place cupcake tins in the cupcake pan. I always make my brownies in a cupcake pan so that every brownie has crispy edges with a gooey center.
    Step 2
    Drain and rinse the black beans. Melt the chocolate chips in the microwave. This will take about 90 seconds to a minute on the high power setting. They may not melt completely; stir vigorously to finish melting the chips until chocolate has a smooth and uniform consistency.


    Step 3
    Pour black beans and melted chocolate into a food processor and pulse until smooth. Add the rest of the ingredients and continue to pulse until completely smooth. 


    Step 4
    Pour into prepared cupcake tins about 1/2 way filled. Sprinkle remaining chocolate chips over the top. You can add optional walnuts to the top as well. Bake for 25 minutes until the top has cracked slightly and the center has set. Allow to cool for 20-30 minutes.


    Thursday, October 31, 2013

    Boot Camp 7

    This week it was pretty straight forward workouts. Basically work as hard as you can, as hard as you can..for as long as you can and stay standing. Haha.

    First Workout:

    As Many Rounds As Possible for 30 Min. (AMRAP)

    15 Kettle Bell Swings (KBS)
    13 Release Push ups
    11 Lateral Burpees
    9 Body Bar squat press
    7 Medicine Ball Jump 
    5 laps
    3 Pull ups
    1 Bag push

    Whew..that was a doosey.

    Workout #2

    KBS        Sit Ups      Jump Squats      Push- Ups    Burpees      
    50               45               40                     35                 30
                   45               40               35                     30                 25               
    40               35               30                     25                 20
    35               30               25                     20                 15
    30               25               20                     15                 10

    If you do this workout or any of these workouts let me know what you think!

    Sunday, October 27, 2013

    Portobello mushroom caprese pizza

    Tonight I was inspired by my husbands favorite side dish, caprese salad. I love how light it is, but it could not be a dinner by itself so I decided to add a little substance to it. A portobello mushroom!


    What you will need:

    • 4 portobello mushroom caps
    • Fresh basil
    • 1 cup of fresh mozzarella
    • 1 tbs of olive oil
    • 3/4 cup of fire roasted pizza sauce
    • 1/2 tsp salt
    • 1/2 tsp
                                                        Step 1
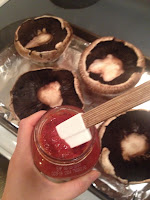
    Pre-heat the oven to 375 degrees.Wash and de-stem your mushrooms. Make a aluminum foil elevated ring. You do this in order to prop up the mushroom so it does not get soggy while it is baking in the oven. Mushrooms have a lot of water in them, so you want to make sure that your dinner isn't floppy.


    Step 2
    Place the mushrooms on top of the aluminum elevated rings. 
    Drizzle the olive oil and add the salt and pepper.

    Step 3

    Add the rest of the ingredients. First the pizza sauce. Then the mozzarella, cherry tomato, and last the basil. 


     Step 4
    Place the mushrooms in the oven for 25-30 minutes. The mushrooms should be soft and the cheese should be melted completely. 


    The Result:
    My husband loved it! He said it was probably the best thing that I had ever made for him. :D

    Monday, October 21, 2013

    Eating fresh fruits and vegetables during Fall and Winter


            My favorite food season is summer. I have access to affordable fresh fruits and vegetables that are at the peak of freshness, which means that its a the peak of nutrition as well. Now that Fall and Winter are here it is hard to eat the same as we did in the summer. Sometimes we try to eat the same, which means that we are eating fruits and vegetables that are not picked at the peak of freshness and nutrition. We are now eating more expensive fruits and vegetables that are not as nutritionally sound as we think. These fruits and vegetables are picked from a more tropical location...then packed...then shipped...THEN put on the floor of the grocery store.

    So here are a list of fruits and vegetables that are at the peak of freshness per season:

    Fall
    Vegetables
    • pumpkins
    • winter squash
    • sweet potatoes
    • broccoli
    • mushrooms
    • spinach
    Fruit
    • cranberries
    • oranges
    • tangerines
    • pears
    • pomegranates


    Winter
    Vegetables
    • cabbages
    • leeks
    • broccoli
    • cauliflower
    Fruits
    • oranges
    • grapefruit
    • tangerines
    • tangelos
    • lemons
    • papayas

    Spring
    Vegetables
    • okra
    • zucchini
    • rhubarb
    • artichokes
    • asparagus
    • spring peas
    • broccoli
    • lettuce
    Fruit
    • cherries
    • pineapples
    • apricots
    • mangoes


    Summer
    Vegetables
    • cucumbers
    • corn
    • eggplant
    • tomatoes
    • summer squash
    • green beans
    • lettuce
    Fruits
    • watermelon
    • strawberries
    • cantaloupe
    • blueberries
    • peaches
    • apricots
    • kiwi
    • raspberries
    • plums
    As you can see once Fall comes around the variety of fresh fruits and vegetables are limited. So how can you keep that same variety and still get fresh fruits and vegetables without changing your normal diet? I was able to do this by adding Juice Plus to my diet. Juice Plus is whole food nutrition.It is simply juiced, dried, and encapsulated fruits and vegetables in the ratios of nutrition that nature intended. In contrast, vitamins are man-made chemicals that are often way off of nature’s balance, and do not have the natural synergistic effect of nature’s food.


    There at 17 fruits and vegetables that are used at Juice Plus are picked at the peak of freshness! The fruits and vegetables that are included are: 
    • Apple • Orange • Pineapple • Cranberry • Peach • Acerola Cherry • Papaya • Carrot • Parsley • Beet • Kale • Broccoli • Cabbage • Spinach • Tomato • Oat Bran • Brown Rice Bran


    Tuesday, October 15, 2013

    Boot Camp 6 - The Countdown!!

    I love workouts that you are able to do that is really high intensity that is a small amount of time. With this 'countdown' workout you really can do it as fast as you can for more cardio, or take more time and add more weight and do harder versions of the same workout.

    Equipment:
    Medium weight kettle bell
    Box for box jumps

    The Countdown
    10, 9, 8, 7, 6, 5, 4, 3, 2, 1

    Box Jump Burpees
    Push-Ups
    Box Dips
    Kettle bell Squats
    Kettle bell Swings

    With this workout you do all of these activites 10 times through. With the first round being 10 times, the second 9 times, the third 8 and so on. 

    Box jump burpees- Jump up on a box/step up box with both feet. Jump back with both feet. Go down into a pushup burpee.
    Box Dips- Regular triceps dips using the box
    Kettle bell squats- Take the kettle bell in both of your hands right at your chest and squat while holding the kettle bell.


    Workout #2

    You will need a partner. You will be doing workouts about 25 yards apart from each other in a straight line.  Pick who will be partner A and who will be partner B. Partner A will be doing the stationary workout on one side while the partner B will be sprinting to the other side to do the first workout. 

    A
    1. Floor sprints
    2. Push-up row
    3. Frog jumps
    4. Lunge row
    5. Jumping Jacks
    6. Cherry Pickers
    Sprint to other side in between each workout from A 

    B
    1. Jump Squats
    2. Plank triceps extension
    3. Split squat, lateral raise
    4. Overhead Y lunge
    5. Sit up
    6. Push up
    Rear sumo to A.


    Monday, September 30, 2013

    Quinoa with caramelized onions and shiitake mushrooms


    Ryan is working real late tonight...actually sleeping on the boat, so I decided to make myself something really delicious, healthy, and light.

    What you need:

    • 1 Box of 'Near East' quinoa - Rosemary and Olive oil flavor
    • 2 cups of shiitake mushrooms, stem removed and sliced
    • 1 half of yellow onion, sliced
    • 1 tablespoon of soy sauce
    • 1/2 teaspoon of pepper
    • 1/2 teaspoon of salt
    • 2 tablespoons of extra virgin olive oil

    Step 1
    Cook the quinoa according to the directions on the box. I used the microwave option because it was easier.

    Step 2
    Slice up the onion.  Add 1 tablespoon of olive oil to a pan over medium heat. Then caramelize the onions. Here is how to do that in this video:


    Step 3

    While the onions are caramelizing and the quinoa is cooking in another pan, add 1 tablespoon of olive oil to another pan on medium. Then add the sliced up shiitake mushrooms until they are tender.


    Step 4
    Once everything is cooked add it all together and add the 1 tablespoon of soy sauce (only if you didn't add it already while you were cooking the onions). Enjoy!

    Wednesday, September 25, 2013

    No Rice Fried Rice

    Tonight I was lost for what to make for dinner..so I just threw things together. I still had some broccoli cole slaw from my last post so I decided to try it in fried rice as a rice substitute. The result was great.

    What you need:

    • Half a bag of broccoli cole slaw
    • 3 large eggs
    • Green Giant steamer bag-- broccoli, carrots, peas, and potato
    • 2 tablespoons of Sesame oil
    • 1/4 cup of soy sauce
    • 1/4 cup of water
    • 1 small onion
    Step 1
    Place the broccoli coleslaw and water in a pan on medium for 5 minutes until broccoli is soft

    Step 2
    Dice up the small onion and place it in a small pan with the sesame oil until slightly browned

    Step 3
    Add the Green Giant steamer bag into the pan with the onion and sesame oil

    Step 4
    Beat your eggs in a separate bowl and then add it to the broccoli coleslaw while it is on high. Fold in the eggs.

    Step 5
    Add everything together

    Final result.....

    You can also add siracha to spice it up as well!

    Enjoy!

    Tuesday, September 24, 2013

    Before Baby Bucket List


             Now, before you all get freaking or excited..no we are not pregnant, and no we are not planning on getting pregnant any time soon. But, thinking about my 'life timeline' there are quite a few things in life that I still want to do before I am called "Mom." So I am going to make a 'things I want to do before I even consider getting pregnant' list.

    I feel like when I put things down in writing it helps remind me of all of the things that I still want to do, and hopefully will help me get them done. So..here is my list.


    1. Girls weekend...okay maybe week in Vegas. I feel like Vegas isn't something you can really go full out on if you are a Mommy.
    2. Get ripped. I would love to have a nice 8 pack abs like I did back in college swimming(sigh) before I have kids and it makes it harder to happen.
    3. Travel abroad to asia or Australia. Living in Washington has made this more accessible so I hope we can make it happen before we move away.
    4. Get a killer wardrobe. I have been told that it is hard to spend money on yourself and wear cute clothes when you have an infant that is spitting up on you...so maybe I should try to look cute while I can.
    5. Become a personal trainer.
    6. Do a triathlon. My achilles has always been running, but I just need to stop being a weeny.
    7. Visit Debi in Guatemala again.
    8. Go on more overnight backpacking trips
    9. Go out on the town with friends and my husband more often
    10. Splurge on ourselves
    11. Do more things that require me to get dressed up to the 9's
    12. Have a glamour photo shoot. We are only young for so long...
    13. Take an adult hip hop dance class
    14. Go free diving
    15. Go cross country skiing
    16. Hike a glacier
    17. Do an abroad mission trip
    18. Be spontaneous
    19. Be a "Yes" girl
    20. Find a job in health promotion. Ha yeah, jobs are hard to come by here. 
    21. Visit my friend Ellie in London

    Friday, September 20, 2013

    The No Pasta, Pasta

    I have been cleaning up my act with my food even more than normal. Before I was kind of loose with my carbs, so now I am working on clearing out the simple (white) carbs that are bad for us.

    One of my favorite dishes is pasta...but of course its alllllll carbs. Tonight I made chicken parmesan.

    So the pasta substitute that I used.....Drum roll...............BROCCOLI COLE SLAW!!!.....say what?!


    All you need to do is:

    Put half of the bag of broccoli cole slaw in a skillet with 1/4 cup of water and put it on the stove top over medium for about 5 minutes or until the broccoli is soft. It will turn into a bright green color!


    Red Sauce: I just used a regular prego sauce that I jazzed up with diced onions, garlic, and italian seasoning.

    Then I added it together...


    Result: Amazing! Ryan wanted to just eat the broccoli in a bowl by itself.

    Oh, and the best part...the broccoli cole slaw is only 25 calories per CUP!

    Friday, September 13, 2013

    My trick to the smoothest legs ever

    So, I am going to let you in on my secret to getting smooth legs. This might not be a secret, and you might do this yourself, but oh well I am sharing any ways. The best thing is that it is so EASY!

    What you need:

    • Venus razor. Doesn't matter what kind. This is the best razor so just spring for it.
    • Conditioner
    Steps:
    1. Use conditioner to shave your legs with the venus razor
    2. Then...here is the important part. Get your leg cold! You must have goose bumps to where the hair that you did not shave off sticks straight up. You can get your leg cold by sticking your leg out of the shower or turning the water completely off. 
    3. Shave your legs again while the goosebumps are up
    4. Make sure to moisturize after shaving.
    I have had friends throughout the years complaining that as soon as they get out of the shower and they get cold that their hair "grows back." It doesn't grow back..its just that you aren't shaving it all. 

    Hopefully this helps you get smooth sexy legs!

    Saturday, September 7, 2013

    Boot Camp 5 - Sweaty hair

    Today's work out was hard. Okay its ALWAYS hard. This workout was a little bit different because we had a different instructor than I am used to. We even had an obstacle course involved with this workout as well...Ooohhhhh.

    Equipment:

    • Bosu
    • Weighted bar
    • Medicine ball
    • Yoga mat
    Every round is 7 minutes long and you do each as many as you can until the time is up.

    At the end of each cycle you do an obstacle course which was. Sprint to a cone, side shuffle to another cone. Sprint to another. Side snuffle. Do a lap of bear crawls..and then scooter along with a square scooter thing you would play around with when you were a kid. The obstacle is hard to explain. You can always run a lap around the track if thats easier.

    Round 1
    1. Squat press with weighted bar
    2. Split push-up on med-ball
    3. Straight arm med ball sit ups
    4. Alternating lunges with weighted bar

    Round 2
    1. Crunches
    2. Laterals on bosu
    3. Bicep curls with body bar
    4. Tricep extensions with medicine ball
    Round 3
    1. Burpees
    2. Alternating supermans on bosu
    3. Russian twist with medicine ball
    4. Plank runners on bosu
    NEXT WORKOUT!!

    6 Rounds. 6 repetitions.


    • Overhead Squat
    • Race car driver
    • Burpees
    • Plank X
    • Up/downs
    • Side plank taps (each side)
    Suicides after each round.

    Thursday, September 5, 2013

    Cauliflower PIZZA!!


    Okay, so I am very interested in ingredient substitutes to make food healthier. My first attempt was mashed potatoes, so now I am tackling pizza.


    Ingredients:

    • 1 head (Small Head) Cauliflower
    • ¼ cups Parmesan Cheese
    • ¼ cups Mozzarella Cheese
    • ¼ teaspoons Kosher Salt
    • ½ teaspoons Dried Basil
    • ½ teaspoons Dried Oregano
    • ½ teaspoons Garlic Powder
    • Red Pepper Flakes (optional)
    • 1 whole Egg
    • Pizza Sauce (I made my own)

    Step 1
    Place your pizza stone in the oven and preheat the oven to 450 degrees. 


    Step 2
    Wash and cut your small head of cauliflower. Break apart the florets and put it in your food processor. Pulse or put on high until the cauliflower is blended up. It should look like fluffy snow. 


    Step 3
    Place the blended up cauliflower in a microwave bowl and microwave for 4 minutes.


    Step 4
    After you microwave the cauliflower let it cool (I placed mine in the freezer for 5 minutes). Once the cauliflower is cool enough to handle put it in a tea towel and wring all of the water out of the cauliflower. THIS IS THE MOST IMPORTANT STEP! Wring it out until all of the water is out!!! Do Not use a paper towel!

    Step 5
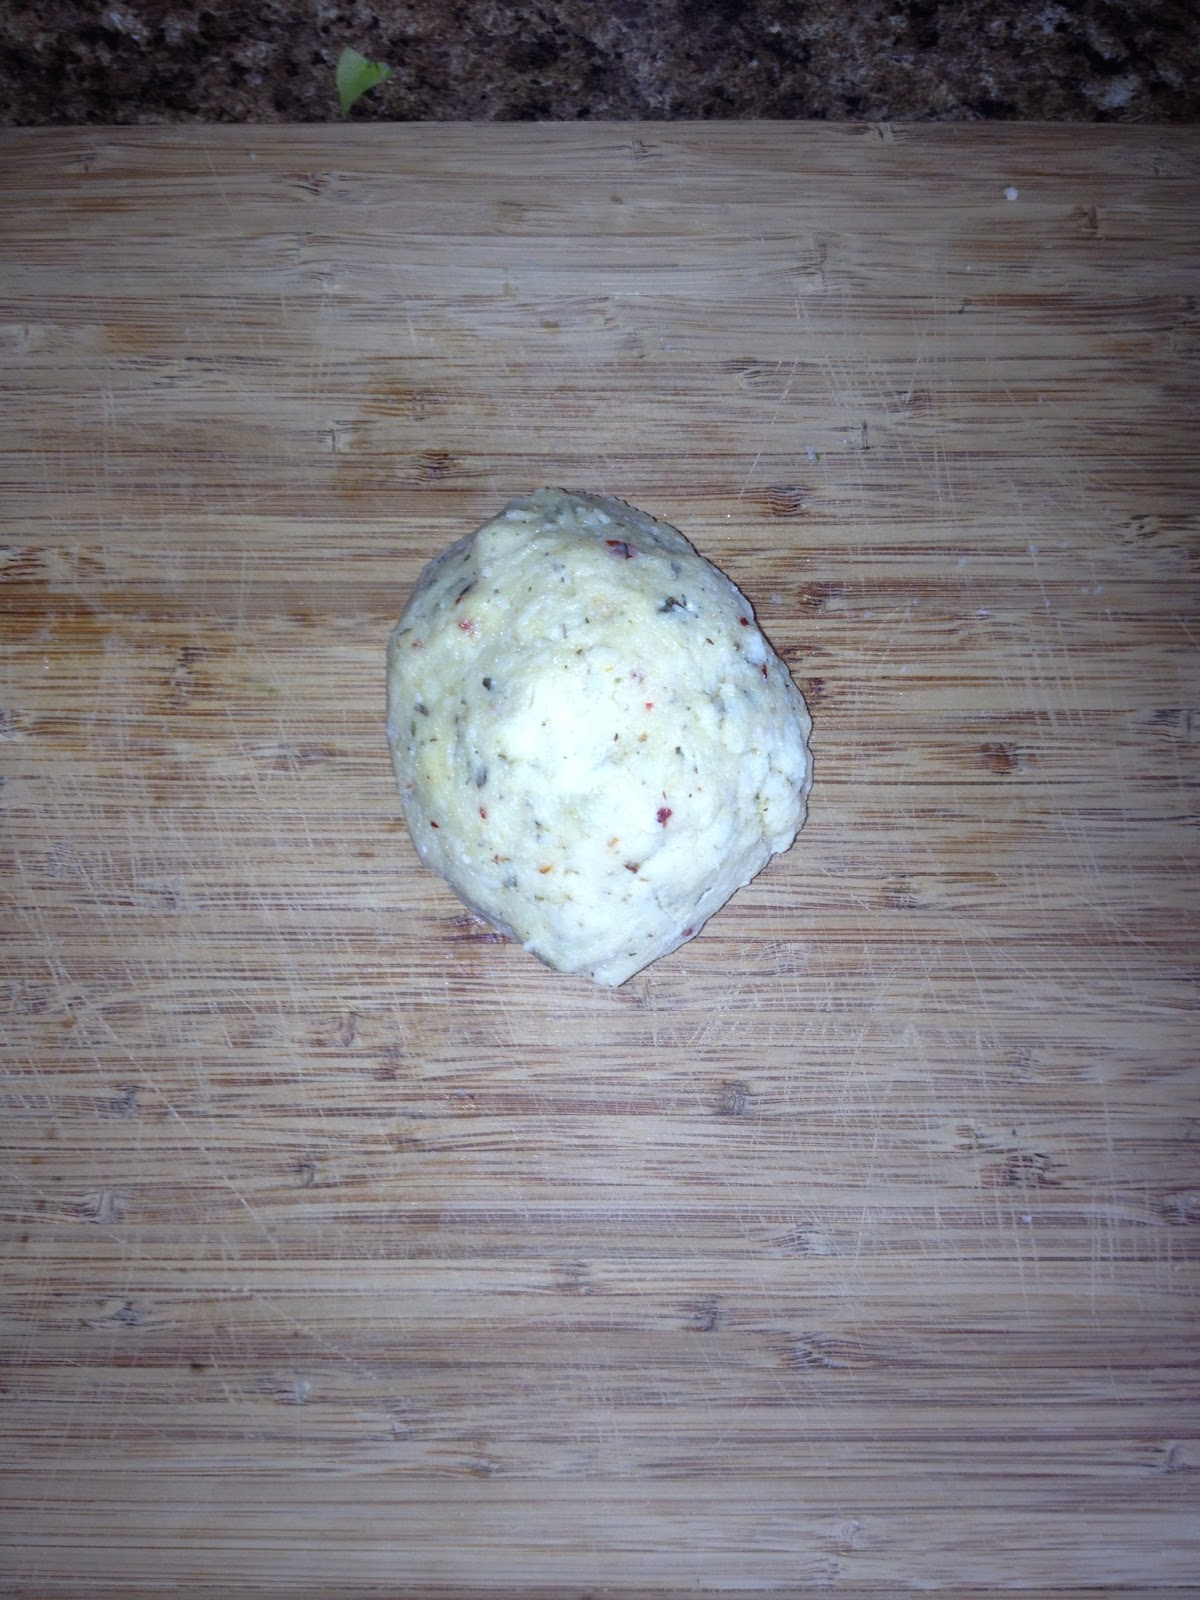
    Add the cauliflower to a bowl and add the rest of the ingredients in a bowl and mix together


    Step 6
    Take it and ball it up and then press it out using your hands into a flat round crust


    Step 7
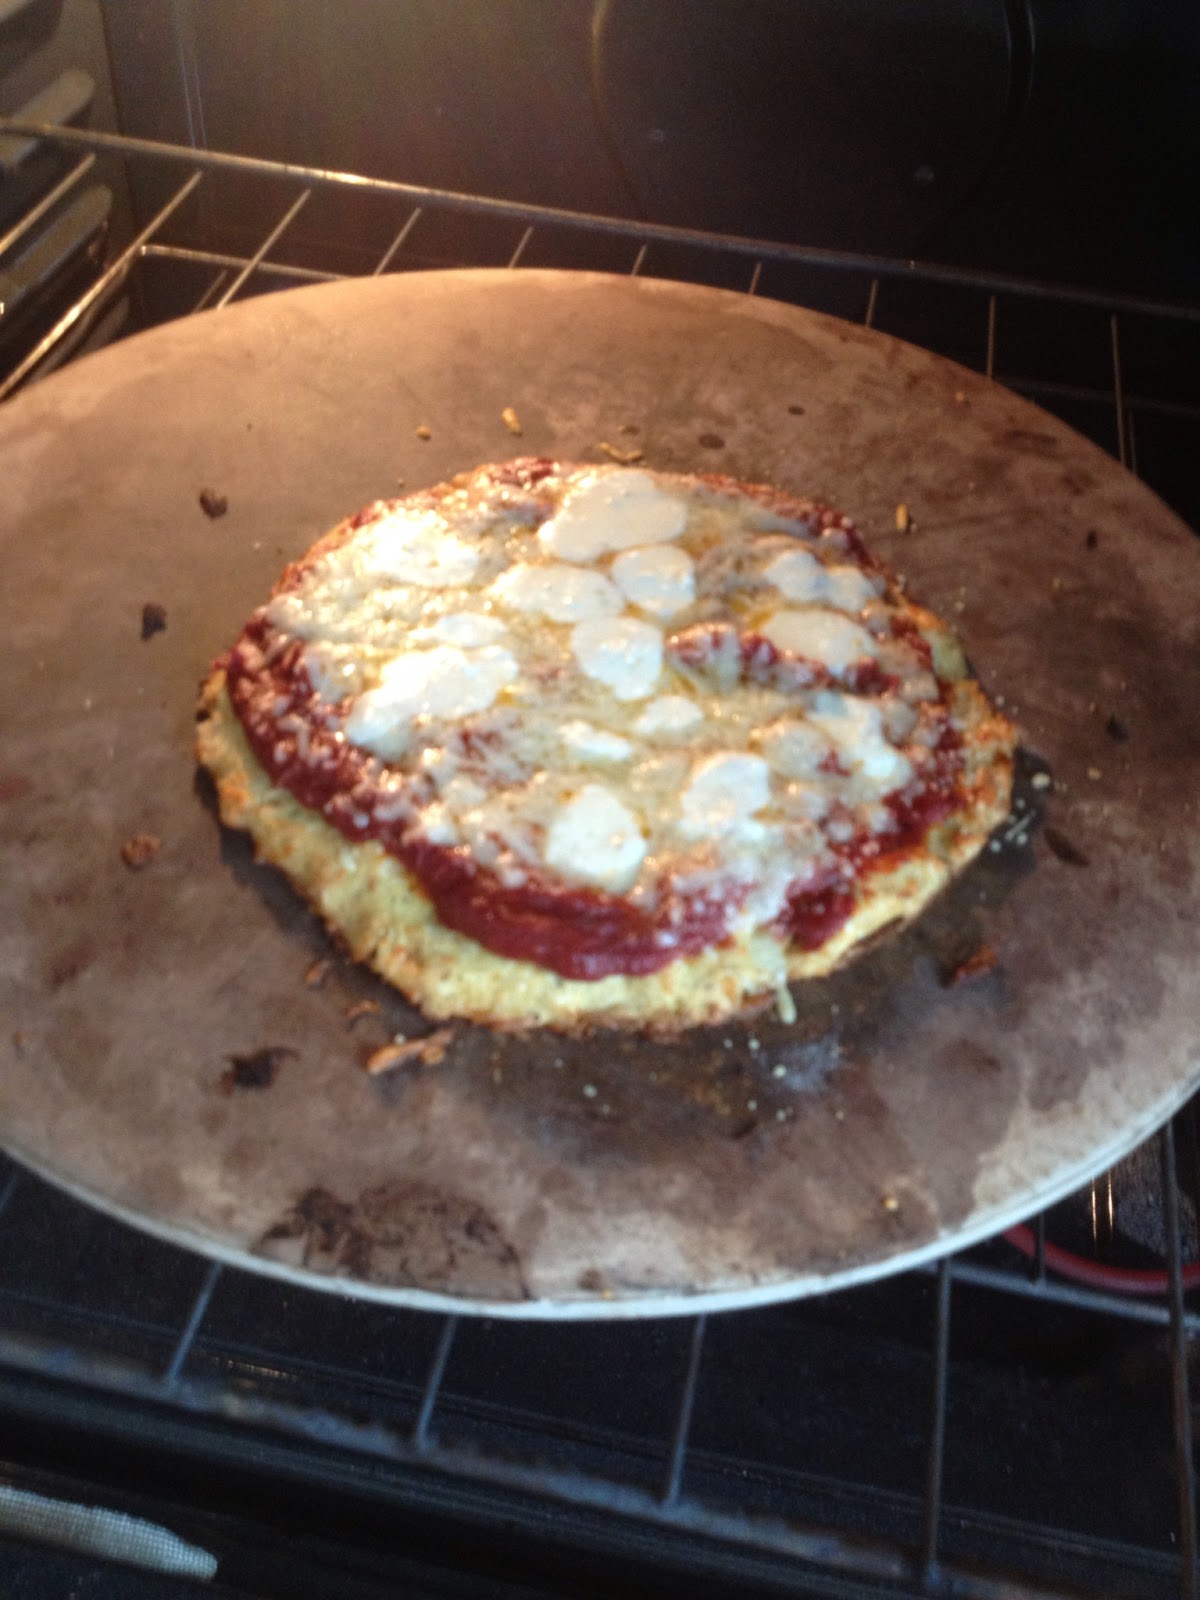
    Put it on the pizza stone and cook the cauliflower for 9 minutes. 

    Step 8
    Take it out of the oven and add your pizza sauce and cheese place it back in the oven for 5-8 minutes or until the cheese is melted....and ENJOY!!